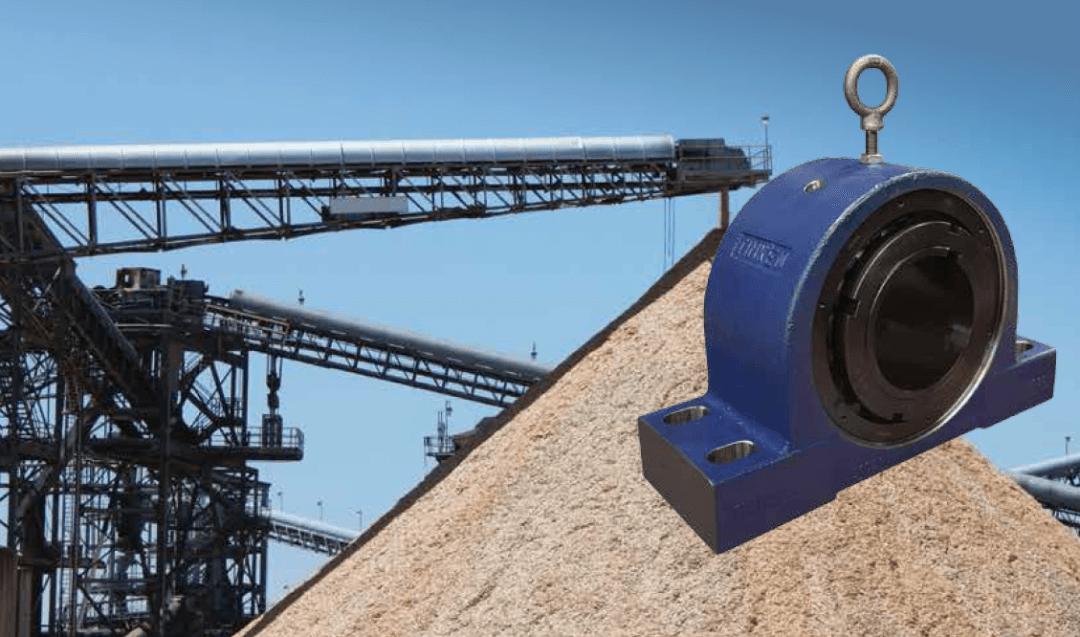
The bearing housing is a precision-assembled component. To ensure its accuracy, it must be operated very carefully during installation. In particular, the bearing must be kept clean to prevent rust and it must not be subject to strong impact during installation (see some frequent installation tutorials on the Internet). Hit it with a hammer, a classic mistake).
Preparation before installation is essential
1. Inspection before installation
Before installing bearings and housings, the following points must be thoroughly checked:

First, prepare the installation tools.
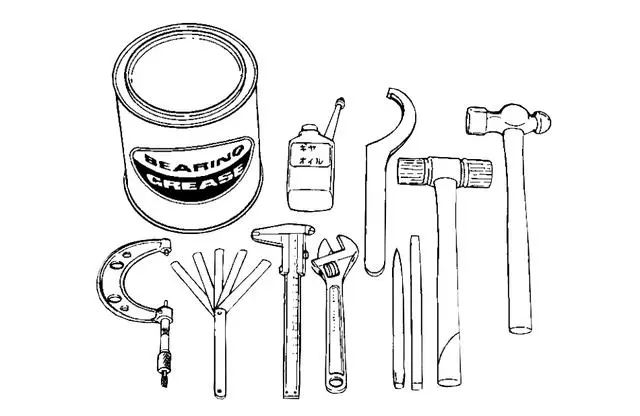
Such as measuring instruments, whetstones, lubricants and factory cloths (as shown in Figure 1), the dust and impurities should be cleaned of these tools and operated before installation work.
The second is the detection of the shaft.
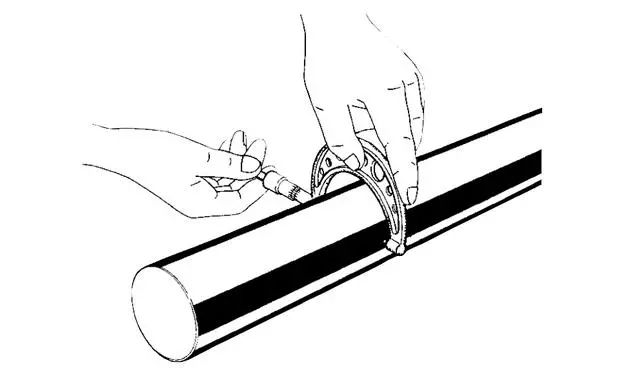
Ensure the shaft is not bent or otherwise damaged, as shown in Figure 2. The shaft needs to be inspected to ensure that its size and shape comply with regulations and that there should be no visible corrosion or damage.
The third is the grinding of the shaft.
Use a whetstone or fine sandpaper to remove any dents (even small ones) on the shaft contact surface. At the same time, check whether the contact surface of the seal has the specified surface roughness (0.8a). Wipe the dust on the shaft with a clean factory cloth.
Fourth, the bearing housing cleaning
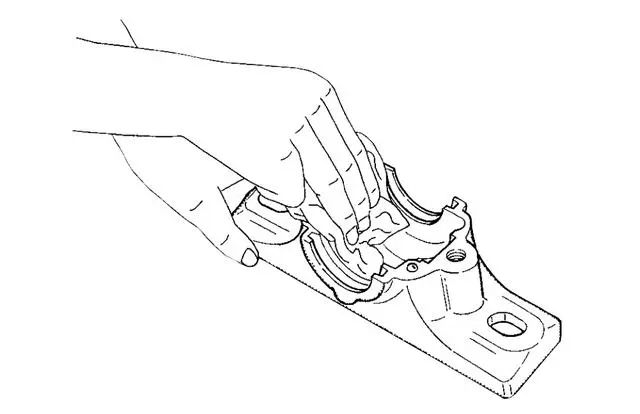
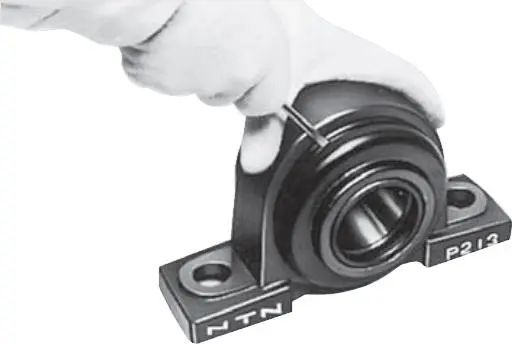
Dust and metal debris that may be present inside the bearing housing need to be carefully removed (as shown in Figure 3).
Fifth, check the bearing housing
It is necessary to check the flatness of the mounting surface of the bearing housing. When placed on the frame, the bearing housing must be very stable without any shaking.
Preparation work for installing bearings
Before installation work, unpack the bearing. If the bearing is to be lubricated with grease, the anti-rust coating on the bearing does not need to be removed. If it is to be lubricated with oil, benzene or kerosene needs to be used to remove the anti-rust coating on the bearing.
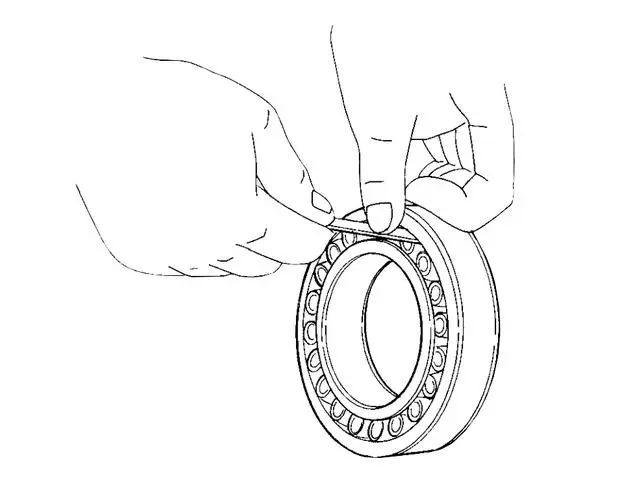
It should be noted that do not force the thickness gauge or rotating bearing, otherwise, the resulting gap measurement will be bigger than the actual gap.
Bearing housing installation
There are four common installation methods for bearing seat installation units:
Ball head set screw installation
Eccentric lock ring installation
Adapter sleeve installation
There are also some special covered bearing housing mounting units
1. Installation of bearing housing with ball head set screw
As a type of bearing housing, the bearing housing with set screws is relatively simple to install. You only need to install the bearing housing unit with set screws on the shaft, and then tighten the two set screws evenly.
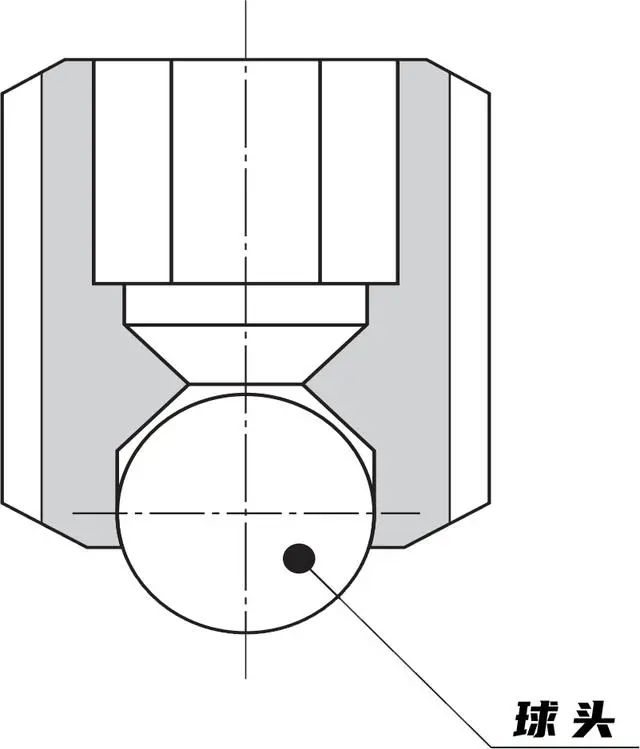
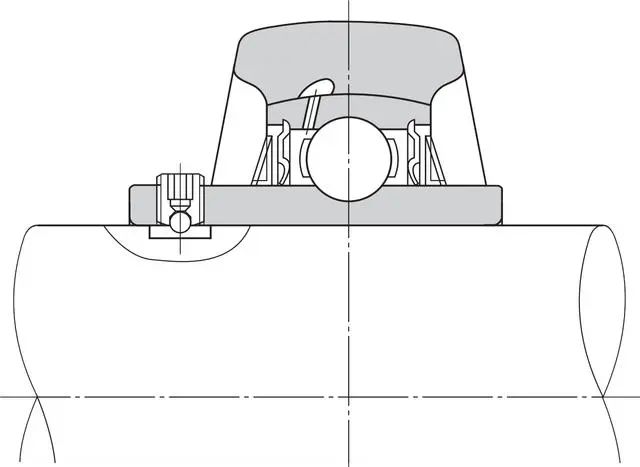
As shown in the picture above, if the fit gap between the inner ring and the shaft is very small, it is recommended that before tightening the screw, file down about 0.2 to 0.5mm of the part of the shaft where the end of the set screw (ball) hits to flatten it. , as shown in the picture below, will assist in removing the bearing from the shaft if necessary.
How to install the bearing housing on the shaft?
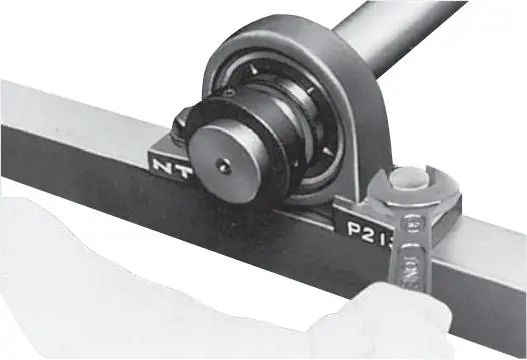
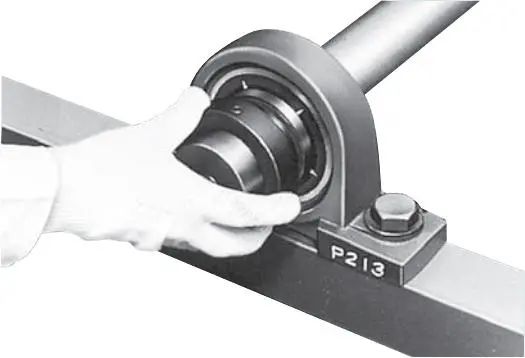
First, make sure that the end of the set screw does not slip into the hole of the bearing. Then, with the bearing housing at right angles to the shaft, insert the shaft into the bearing hole. Be careful not to twist the bearing, hit the slinger, or subject the unit to any impact. Impact, as shown in the picture above, then firmly install the housing in the appropriate position on the machine, and then tighten the two fixing screws evenly with a torque wrench, as shown in the picture below.
How to tighten the set screw?
If the shock capacity acts on the bearing device, and the device is continuously operated at relatively high speeds (dn=30000 and above) and low load (such as strap tension only), the set screws can be tightened on the shaft by the method added later. First, after fixing the housing before tightening the fixing screws, gently tap the housing with a wooden or plastic hammer to prevent the bearings and shafts from being “stuck”; second, after the equipment is commissioned, further tighten the housing with the specified torque as needed. Tighten the set screws.
2. Installation of bearing housing with eccentric locking ring
Unlike bearing housing systems with ball head set screws, in bearing housing systems with eccentric locking rings, the shaft, and inner ring are fixed together by tightening the eccentric locking ring in the direction of shaft rotation. This fixing method is very strong and The inner ring rarely deforms, however, this system is not recommended for applications where the direction of rotation is sometimes reversed.
2.1.Housing preparation.
First, ensure that the frame on which the enclosure is mounted is suitable for the working conditions in terms of stiffness, flatness, etc.
2.2. Installation inspection.
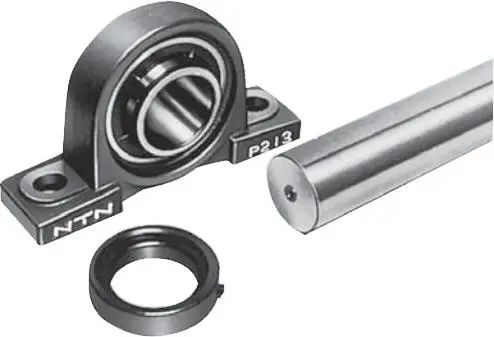
Careful inspection work should be carried out before installation to ensure that there are no burrs on the end of the shaft and that the end of the set screw in the eccentric lock ring does not protrude from the inner surface of the collar, as shown in the picture above.
2.3. Housing installation.
Firmly install the housing to the frame. The relative position of the device and the shaft should be accurately determined so that the device will not be subject to any thrust, and then insert the eccentric locking ring, as shown in the picture above.
2.4. Installation of lock ring.
Install the eccentric circular ridge on the inner ring into the eccentric circular groove of the eccentric lock ring, then turn the ring in the axial direction by hand and tighten it temporarily, as shown in the picture above.
2.5. Tighten the lock ring.
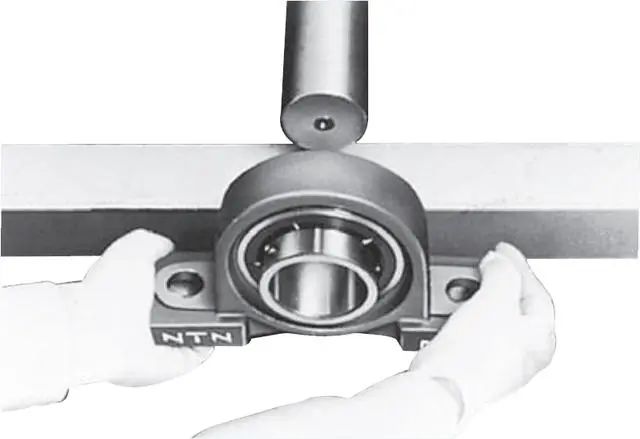
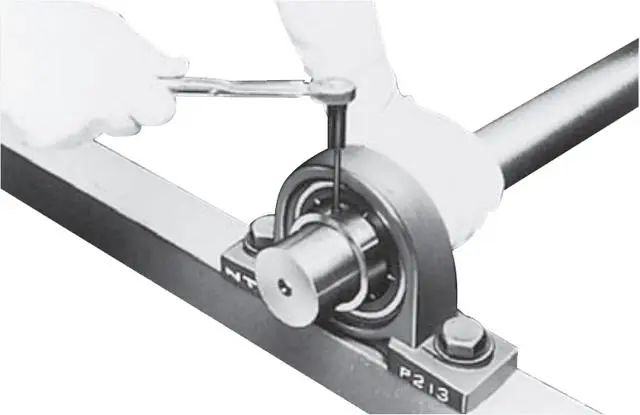
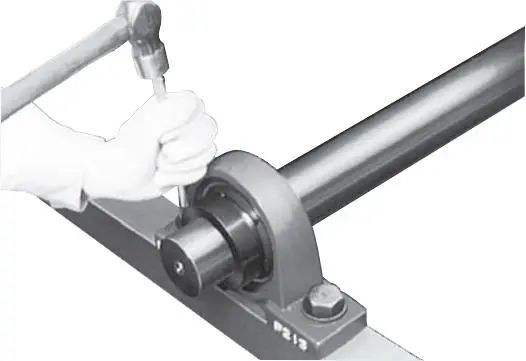
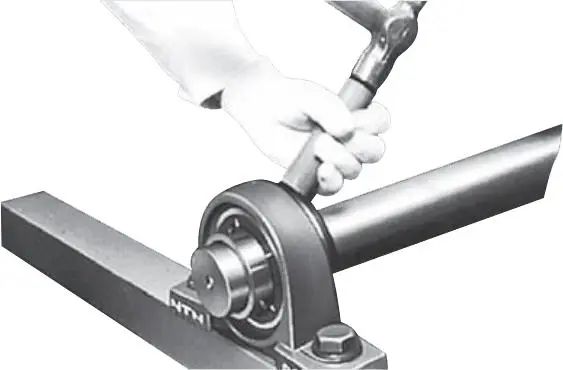
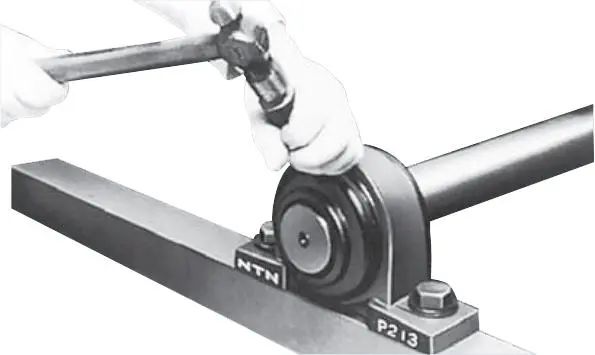
Insert a rod into the hole around the eccentric lock ring, and tap the rod to make the eccentric ring rotate in the direction of rotation of the shaft, as shown in the picture above. Finally, tighten the fixing screw of the eccentric lock ring to the shaft, and the installation is completed.
3. Bearing housing installation of adapter sleeve
The bearing housing mounting unit using an adapter sleeve will not loosen the fit between the shaft and the inner ring even if it is subject to impact load or vibration load. The straight shaft can be used under any operating conditions unless there is a large axial load.
The installation steps of the bearing seat mounting unit using an adapter sleeve are as follows:
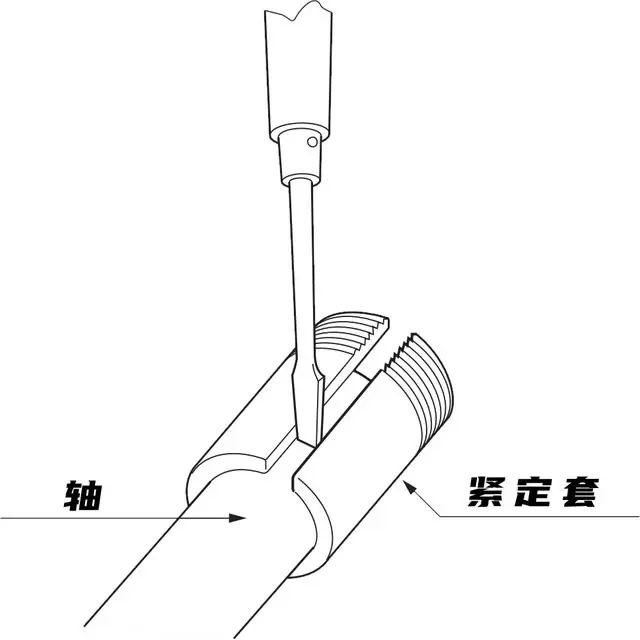
3.1. Adjust the position of the sleeve so that the tapered part is close to the center of the bearing. To facilitate the installation of the sleeve on the shaft, you can use a screwdriver or similar tool to widen the opening in the sleeve. The position of the sleeve should ensure that the nut is located on the pulley. on the other side for easier movement, as shown above.
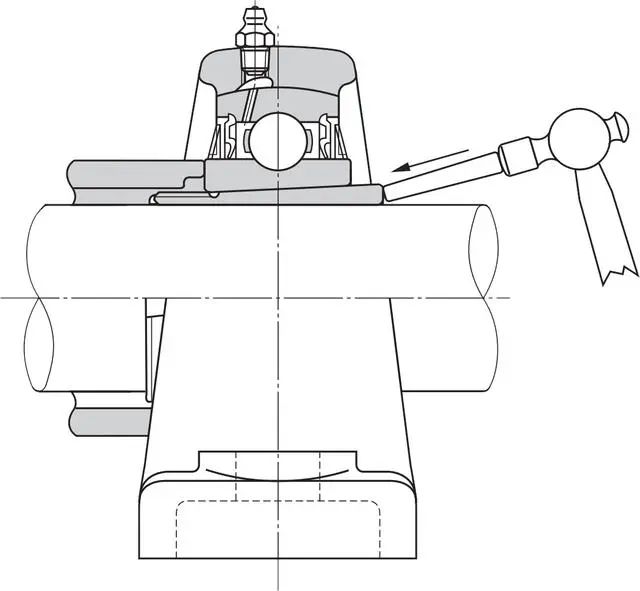
3.2. Place the bearing device so that the tapered hole is correctly positioned on the sleeve, and the cylindrical sleeve is close to the side of the locking nut of the inner ring, as shown in the picture above, and gently tap the adapter sleeve around its entire periphery until Positive contact is established between the bearing and sleeve.
3.3. Insert the washer and tighten the nut completely by hand, then apply the clamp (or screwdriver without clamp) to the notch of the nut and tap it with a hammer. After the nut is rotated from 60 to 90, you can stop. Things to note, be careful Don’t hit the bearing slinger, and be careful not to over-tighten the nut, as this can deform the inner ring, causing heating and sticking.
3.4. Bend the lug on the edge of the washer upward to align it with the notch on the nut. This will prevent the nut from rotating. Be careful not to turn the nut backwards to align the notch with the lug on the washer. Then install the housing firmly in place on the machine to complete the installation.
4. Installation of the covered bearing housing mounting unit
First, the selection of the shaft, as well as the steps to install the bearing onto the shaft and install the housing are the same as for standard bearing units. In addition, installing the cover is simple and does not require special tools or clamps. The steps for installing a covered bearing unit are as follows:
4.1. Remove the cover from the bearing mounting unit. The steel cover can usually be easily removed by hand. If the fit is too tight and any disassembly is difficult, a screwdriver or similar tool can be inserted with a twisting motion, as shown in the picture above.
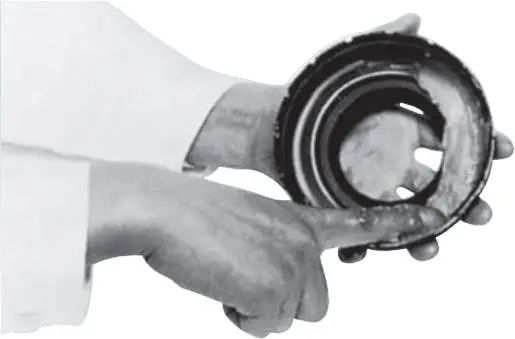
4.2. To enhance the dustproof and waterproof effect, fill the space between the two lips of the rubber seal included in the cover with grease, and apply the grease to the inside of the cover to fill about two-thirds of the space. As shown above photo.
4.3. During formal installation, first pass one of the two grease packaging covers along the shaft, then slide the bearing unit onto the shaft, secure the inner ring firmly on the shaft, and then tighten the bolts fixing the housing. Sometimes these steps are reversed for ease of assembly, and it is recommended to chamfer the shaft end beforehand to avoid damaging the lip of the rubber seal.
4.4. Next, remove the cover that passes along the shaft and press it into the housing as follows. Be careful not to directly hit the surface of the steel cover with a steel hammer. Instead, use a synthetic resin or wood block in the middle. Do not just knock it. In place, instead tap the cover lightly around until it is securely seated in the case, as shown in the photo above. The cast iron cover is secured with three bolts.
4.5. As shown in step 2, fill the second cap with grease and pass it along the shaft. If it is a blind cap, grease should be filled in the groove of the housing.
4.6. Use the same procedure detailed in step 4 to install the cover into the groove of the housing, as shown in the picture above.



Leave A Comment